
Single Page Applications (SPAs) are becoming more and more popular. Although they have many advantages, there are numerous disadvantages. One of the pain points is setting up Microsoft Ads – Conversion Tracking.
Microsoft Ads provides plentiful conversion tracking options. On Traditional Websites (Multiple Page Applications), we are able to use the “Destination URL” option to set up the conversion tracking. However, with the SPAs, Microsoft Ads is not able to understand the Destination URL, because the URLs of the Single Page Applications are not changing physically.
To let Microsoft Ads figure out if there is a conversion happened or not, we need to make several adjustments on both GTM and Microsoft Ads Platforms.
It may feel confusing already but it is not. Google Tag Manager contains a built-in tag for this and the implementation on Microsoft Ads is pretty simple and undemanding. Let’s start with GTM.
Adding Microsoft Ads Tags via GTM
- Enter your Google Tag Manager Container.
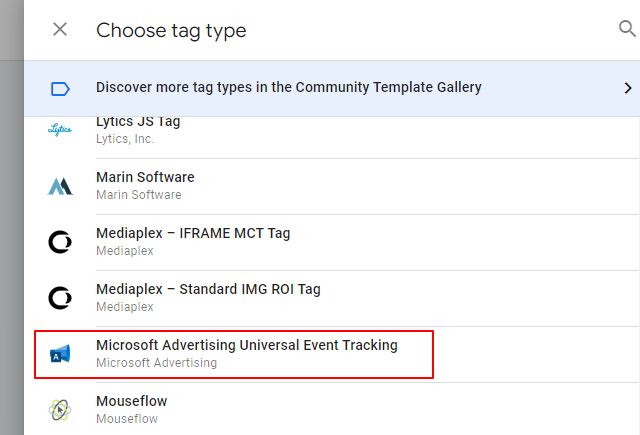
- Add a new Tag and select “Microsoft Advertising Universal Event Tracking” from the right-hand nav.
- Firstly, we will set up a comprehensive tag that covers all pageviews and history changes (virtual pageviews) across our website.
- Set your “Microsoft Advertising UET Tag ID”. (You can set it by directly typing your Microsoft UET ID or Google Tag Manager Variable. To find your ID, log in to your Microsoft Ads Account and head to the Tools > UET Tag section.)

- We don’t need to touch “UETQ variable ID” and “Track type” because it is our base pageview tracking tag.
- This step is critical, we need to add “All Pages” and “All History Changes” (virtual pageviews) triggers to this tag to make sure it fires on all pages.

- Set your “Microsoft Advertising UET Tag ID”. (You can set it by directly typing your Microsoft UET ID or Google Tag Manager Variable. To find your ID, log in to your Microsoft Ads Account and head to the Tools > UET Tag section.)
- Secondly, we will set up a complementary Microsoft UET Tag for the Single Page Application (virtual pageviews).
- Again, add a new tag and select “Microsoft Advertising Universal Event Tracking” from the right-hand nav.
- Just change the “Track type” to Pageview (SPA).
- Inputs will change and will ask for the “Page path”. GTM already has built-in {{Page Path}} variable. We can use this one.
- Add “All History Changes” trigger for the virtual pageviews.

- Finally, we can set up the Microsoft UET Conversion Tracking Tag.
- Again :), add a new tag and select “Microsoft Advertising Universal Event Tracking” from the right-hand nav.
- This time, change the “Track type” to Custom conversion.
- Inputs will change and will ask for additional information about the conversion.
- Type your conversion event name inside the “Define your own event action”. For this example, we’ll type “Beds”. Don’t forget what you type here, because we are gonna need it later on Microsoft Ads Platform.
- We’ll need the “Event category” which will be as same as the one on Microsoft Ads. Microsoft provides plenty of event categories but for this instance, we will use “Purchase”.
- Set it’s “Currency”.
- Set it’s “Revenue value”, for this instance we’ve used a dataLayer variable named {{Bed Value}}.
- Add a History Change trigger which will fire this tag only for the desired history changes. We’ve defined “Beds – History Change” trigger for the virtual pageviews of successful bed purchase pages.

Adding Conversions Goals to the Microsoft Ads Platform
- Login to your Microsoft Ads Account.
- Click “Tools” on the top right-hand corner and then click on “Conversion Goals”.

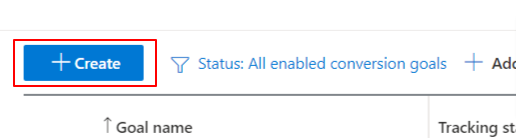
- Click “+Create”.
- On the next page, select the Conversion Goal as “Website” and then continue.

- Select the Conversion Goal Category as “Purchase” and the Goal Type as “Event”. (If you were using traditional multi-page websites, you would choose the Goal Type as “Destination URL”.)

- In the next part, we are going to set our Conversion Goal. Type a name for your goal such as “Purchase”.
- Then you need to define some custom event parameters for the conversion goal. Here you need to remember what you’ve typed into the action input under Microsoft Ads – Conversion Tracking Tag. For this instance, you can set an equation like [Action -> equals to -> Beds]. If you wish, you can set additional parameters to filter your conversions.
- You can set its “Revenue” as you want. Since we are sending the transaction value to the Microsoft Ads, we are able to analyze the “Revenue” metric. Therefore, we are choosing “Conversion action value may vary” option and setting its value to 1€ in case there is no transaction value coming along with a purchase.

- If you wish, you can make some adjustments under “Advanced Settings” and then click “Next”.
- Under tagging options, you can choose “No, this UET tag is not installed on all your website pages” option and click “Save and next” because we will define this UET tag via GTM by ourselves soon.
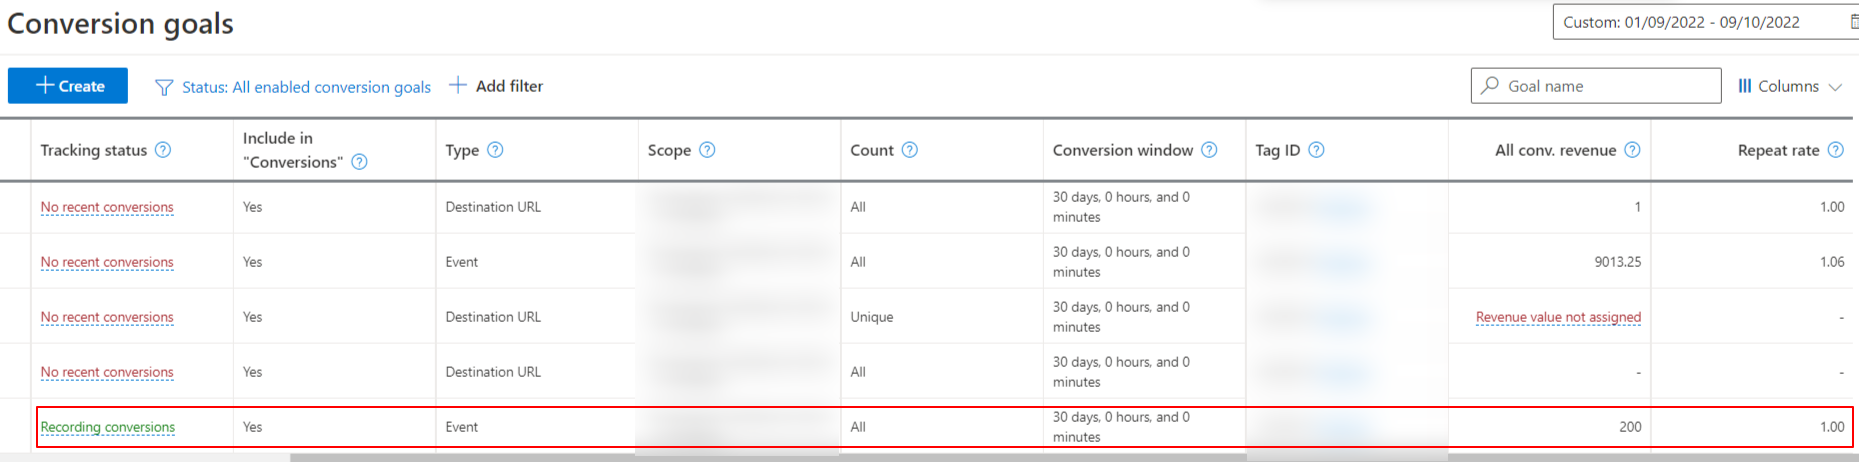
- The final step for Microsoft Ads is that, after we publish the GTM code, we need to make sure our tracking is working correctly. Thus, we need to see some conversions under “Conversion Goals” page in the following days. If the tracking status is “Recording conversions” and “All conv. revenue” & “Repeat rate” is not empty, we can say that our Microsoft Ads – Conversion Tracking setup is completed.
Thanks,
